It’s hard to say “no” to either one of my grandmas (they’re just so cute and sweet and adorable), so somehow over the years of visits, I’ve amassed a large collection of their cast off-earrings.
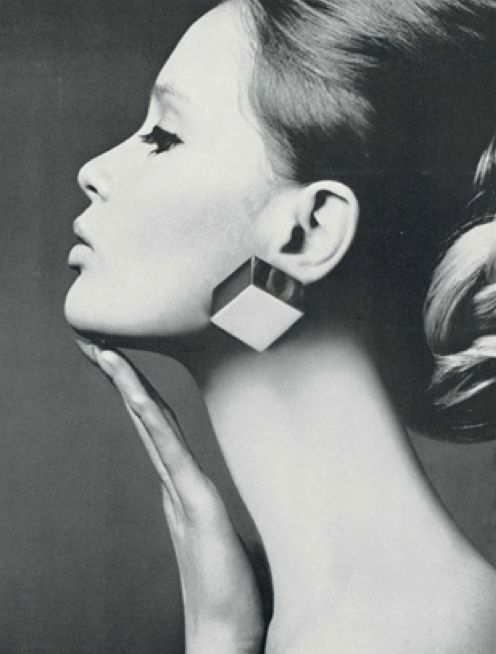
Lots of bold, vintage, clips-on earlobe pairs. I love them and their history. The problem is that after a few hours of wearing them, my ears start to throb, get red, and I can virtually think of nothing else besides getting home and throwing them back into my jewelry box.
I was at a thrift store a while back and met a lovely pair of gold, floral, 3D clips, that I couldn’t part from. I got to talking with a sales girl who was virtually the same person as me (highwaisted Mom jeans: check, Lucite Warby Parker glasses: check, millennial aura: obviously) and she blew me away with this easy tip that I can’t even believe I didn’t think of before.
You can turn clip-on earrings to regular post earrings. You simply need to remove the back clip, and glue on a post. Set aside 20 minutes and gather your supplies.

You’ll need: clip-on earrings, pliers, extra strength glue (I used gorilla glue), and earring posts (I used this set from Amazon)
First, you remove the back stud of the earring. Some of the earrings I had were a little more delicate in nature, but all of them came of clean with a few wiggles.
Next you glue on the back post of the earring. It will take a few hours for the backs to dry completely, so make sure you have them propped up on a level surface. A few of my backs slid a little off their original mark, but everything dried fine!

That’s it! Wear your earrings in good health and make sure you tell your Grandma cause I’m sure she’ll be proud of you, like always.
